Hosted Cashier
Payin
Step 1. Initiate a payment session and get a link to the Hosted Cashier
Request a payment session using the payment-session endpoint. The response to this request includes a redirect URL to the Hosted Cashier UI.
See the example payload below. More details for this endpoint can be found in the API reference.
{
  "country": "TR",
  "currency": "TRY",
  "amount": 3130,
  "redirectUrl": "https://merchant.io/where-to-go",
  "language": "EN",
  "customer": {
    "name": "John Doe",
    "email": "[email protected]",
    "phone": "+34666999666",
    "userDevice": "MOBILE",
    "userAgent": "Mozilla/5.0 (X11; Linux x86_64) AppleWebKit/537.36 (KHTML, like Gecko) Chrome/51.0.2704.103 Safari/537.36",
    "ip": "84.232.140.77",
    "address": {
      "street": "32 Windsor Gardens",
      "streetNumber": "24",
      "country": "GB",
      "zipCode": "W9 3RG",
      "city": "London",
      "state": "Great London."
    }
  }
}
Response:
{
  "cashierUrl": "https://cashier.test.cyberpay.link/96f84290-2252-4c4e-be9e-0cd4ae90d52e",
  "transactionId": "96f84290-2252-4c4e-be9e-0cd4ae90d52e"
}
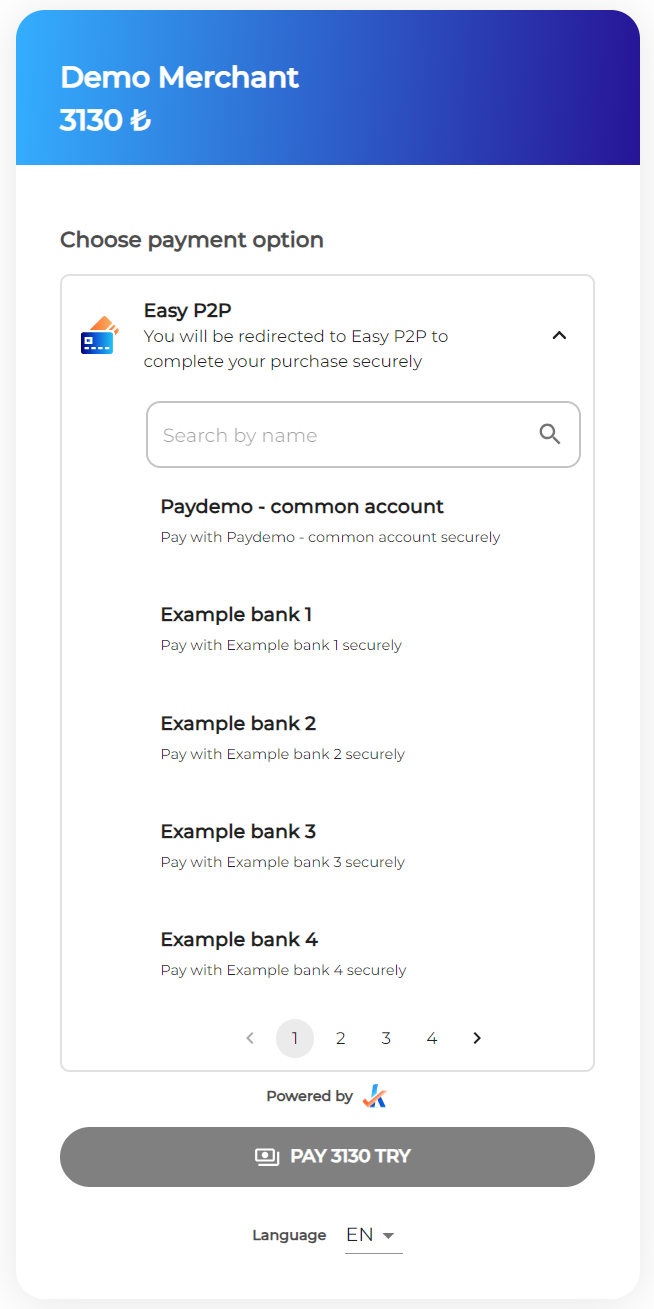
Step 2. Select a payment option
The user expands EasyP2P as a payment option to list all suboptions.
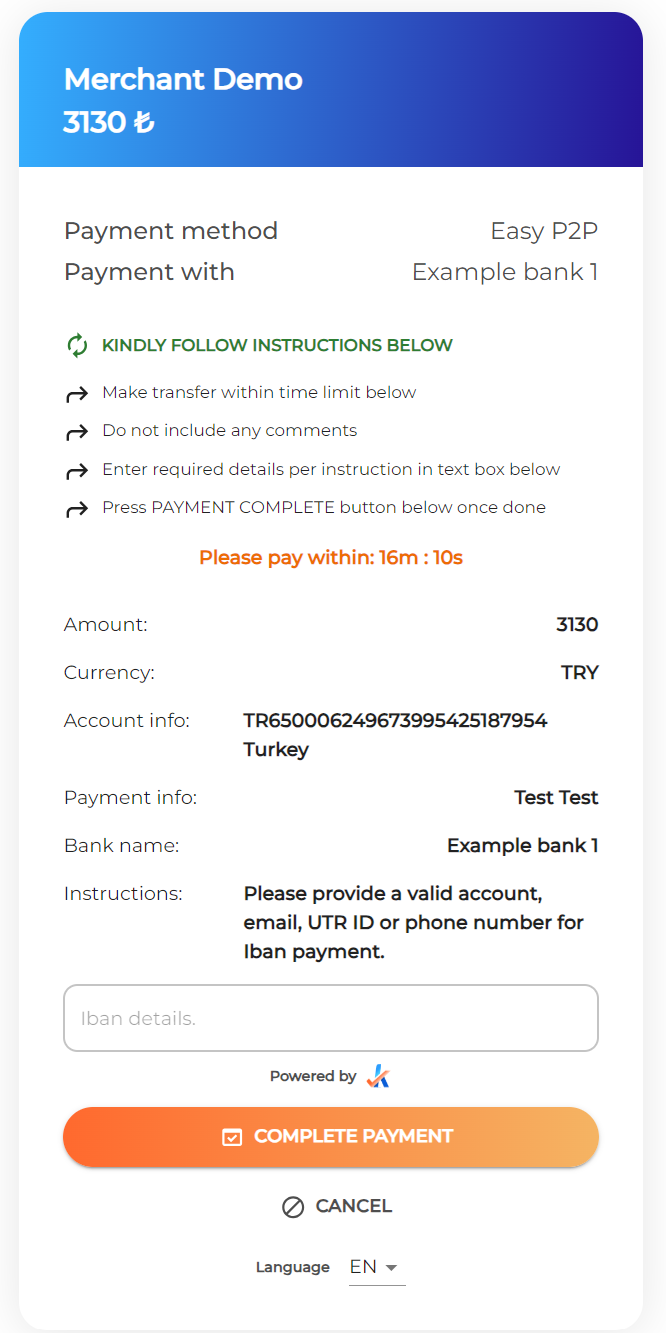
Step 3. Complete the payment
The user selects a suboption and proceeds to the next page for additional instructions. The additional information the user is asked to provide in this step will vary between payment options and countries. Test data for these values can be found here.
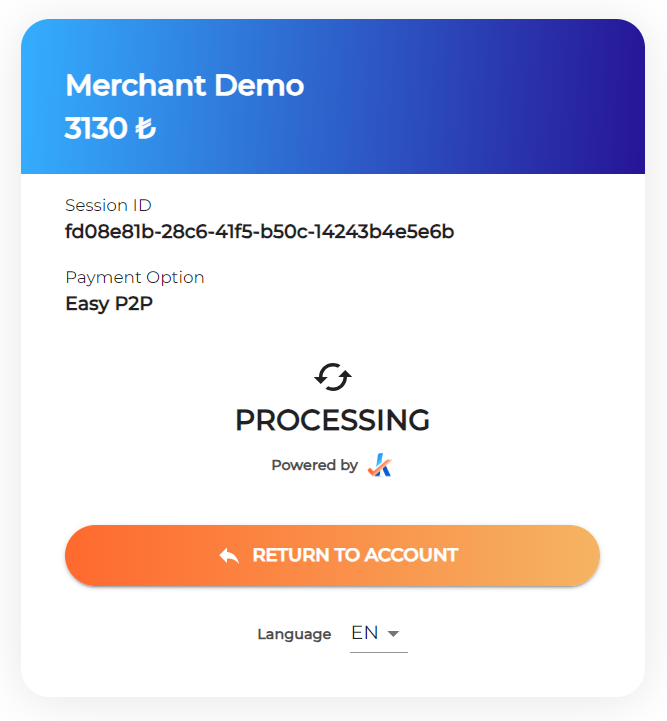
Step 4. Status page
The payment remains in processing status until the network confirms the transaction. When the user clicks “RETURN TO ACCOUNT”, they are redirected to the redirectUrl provided in step 1.